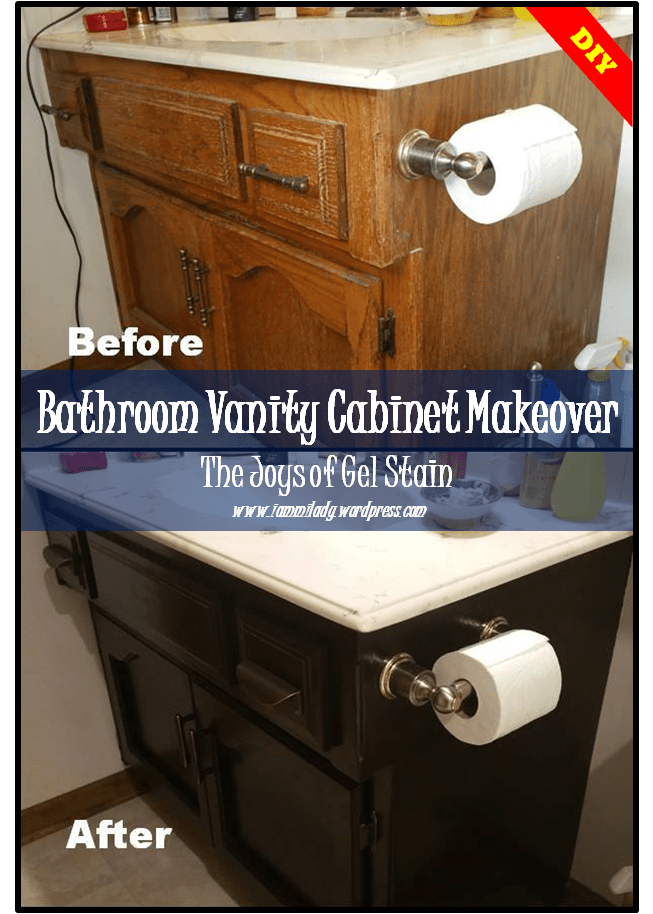
Over my Christmas break, I decided it was time to update the bathroom vanity in our Master. 30+ years was showing on the finish. I love the look of the General Finishes gel stain product, and we had used it over the Christmas break in 2014 in the kitchen. The Java color seems to be really in style right now as well if you pay attention to all the home flipping and DIY shows on HGTV and DIY Network.
This is not a hard project, just time consuming. So here’s before and after.


And here’s what it takes, generally, to do it.
 General Finishes gel stain in Java. A little bit of stain goes a LONG way. This project took a fraction of a pint can of stain and topcoat.
- General Finishes satin gel stain topcoat.
- Tri-sodium phosphate (TSP) cleaner and a bucket of water, cleaning sponges and cleaning rags.
- 1″ and 3″ sponge craft brushes.
- A small water color brush to get into corners.
- Latex gloves – a whole box. Trust me.
- An old cotton sock.
- Ziploc bags and and saran wrap.
Gel stain is communicable and TSP is not friendly to surfaces you are not working on, so prep first. Really. It travels if you’re not careful. Cover your floor with an old sheet or painter’s tarp, tape off edges with painters tape and mask your work areas. This stuff is seriously messy if you don’t control it. Prep, prep, prep.
Clean the wood surface with a TSP solution and allow to dry several hours. You can get TSP in the paint supplies section of your local hardware store. It comes in a powder you dissolve in a bucket of water. Do not get this on any wooden out painted surfaces you are not staining. It will damage your finish.
When prepping, be sure you tape off your line inside your cabinet where you’re going to stop staining so it looks nice and neat when you’re done. I didn’t want to stain the entire inside, just the inside of the doors, so I stained the lip inside the cabinet doors and stopped with a nice, straight tape line, leaving the rest of the interior its original wood color.
Remove hardware, doors and drawers. I worked on them separately on sawhorses in the garage. If you’re not replacing hardware, this is a good time to clean your existing hardware. Drop your hardware into a Dawn/white vinegar and water solution and let it soak overnight. Have an old toothbrush handy to give them a bit of a scrub.
Lightly sand all surfaces you’re going to stain with a sanding block to rough up the surface, then wipe down to remove dust. Allow to dry if you used water to wipe down.
Now you can stain. I used the sponge brushes to apply the stain, but you can wipe it on too. An old cotton sock is great for this. Regardless of how you apply, wear gloves. Have a box handy. Trust me. You will need gloves. As far as timing, the doors will take twice as long as the vanity and cabinet base since you can’t stain both sides at the same time.
Just so you know, the first coat will look like CRAP and you’ll be wondering WTF you just did to your cabinet. Don’t panic. Be patient. By the second and then the third coats, it will start to look fabulous.

1st coat. Ack! What have I done?!?
Allow each coat to dry 6-8 hours.
Do NOT rinse your work tools. This is stain, not paint, so it will stain your sink. Just wrap your brush in saran wrap and store in a closed ziploc bag between coats. The brushes are cheap.
Once you’ve stained the wood to the desired color and it is dry, apply your gel topcoat with your cotton sock. Wipe on, let dry, wipe on again. I used three coats. Again, a little bit goes a long way. Allow to dry 6-8 hours between coats.
If you accidentally get stain on your wall, counter top or floor, clean it IMMEDIATELY. I found water, a scrubby sponge or brush, and some Soft Scrub will remove fresh, wet stain completely.
My little project took four or five days with all the drying time. I could have done it faster if I’d have stained early morning and again in the evening every day, accomplishing two coats in one day. But I was on break after all.
After the last coat is dry, put your hardware back on, touch up where you need to, and you are DONE.
I felt so accomplished. All grown up and everything.
If you’re buying new hinges, take one of the old ones with you to the hardware store so you buy exactly the right style. It will save you a trip. I bought mine at a store here called Locks and Pulls. Cabinet and door hardware is all they sell and they have a huge selection.


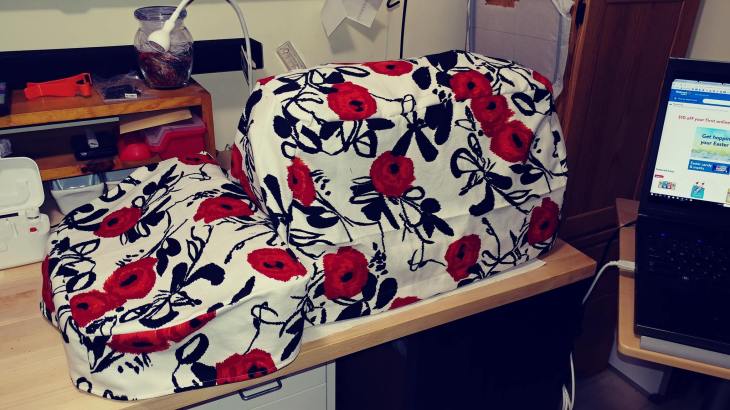
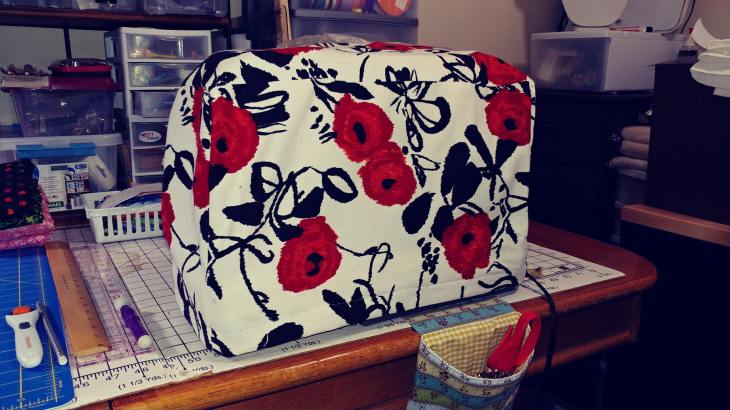


 Second office chair makeover, stripped screws and a trip to the hardware store
 Today I took apart her apart, and the only difference from the last makeover I did was this chair has a finished back on it, requiring fabric for both sides. Taking the back apart required a pry bar and some gentle but firm coaxing. Taking the screws that held the front of the backrest to the backrest support bar was a MAJOR challenge. The screws that were originally used were machine screws and I swear they were glued in as they were screwed down. I wound up stripping the Phillips heads while trying to take them out. So, I also highly recommend a little device called the


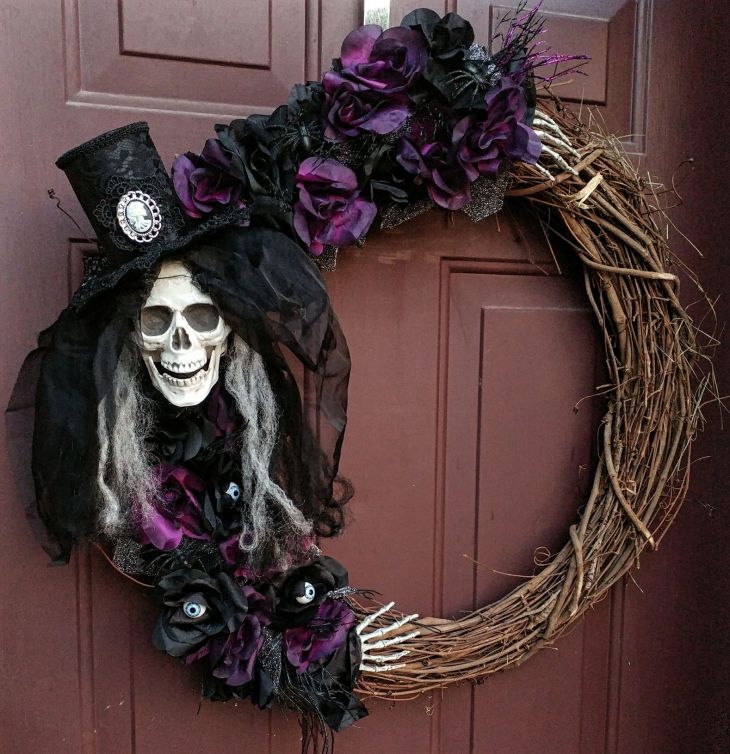 Today I made the switch from summer to Halloween on my front door. I found a similar wreath on the enternetz, and this is my take on it with the pieces/parts I could source locally. I think she came out pretty well. I have materials to make more, so if you’re interested in your very own for $120, leave me a comment and I’ll get back to you!


