What time is it?
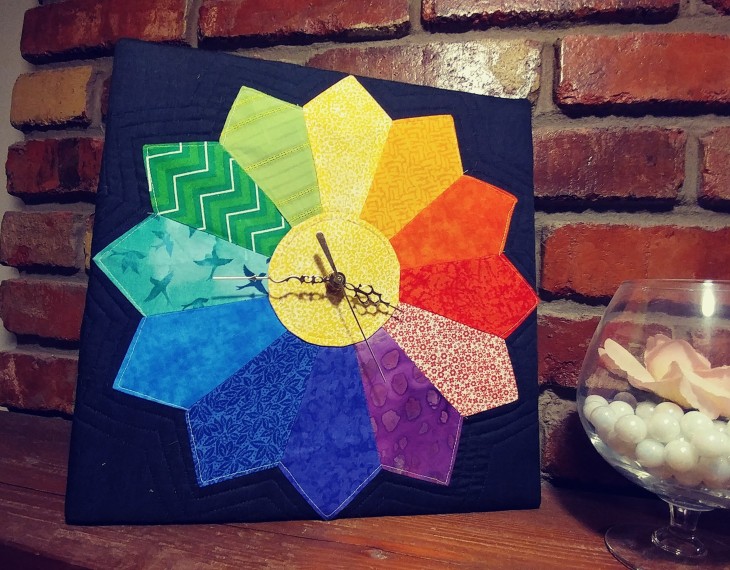
I knocked my sewing room atomic clock off the wall the other day and damaged the display, so I decided I needed a new clock. I searched Amazon, Etsy, and eBay for sewing-themed clocks and decor and found a lot of cute things, but nothing that spoke to me enough to buy. In my search, I ran across a few pictures of a handmade clock using a vintage quilt block design called the Dresden Plate, and I fell in love with it. The original purpose of a Dresden Plate quilt was to use the smallest fabric scraps so nothing went to waste, and this random piecework style seemed to suit my crafting and sewing style.
This is my version of the Dresden Plate clock.
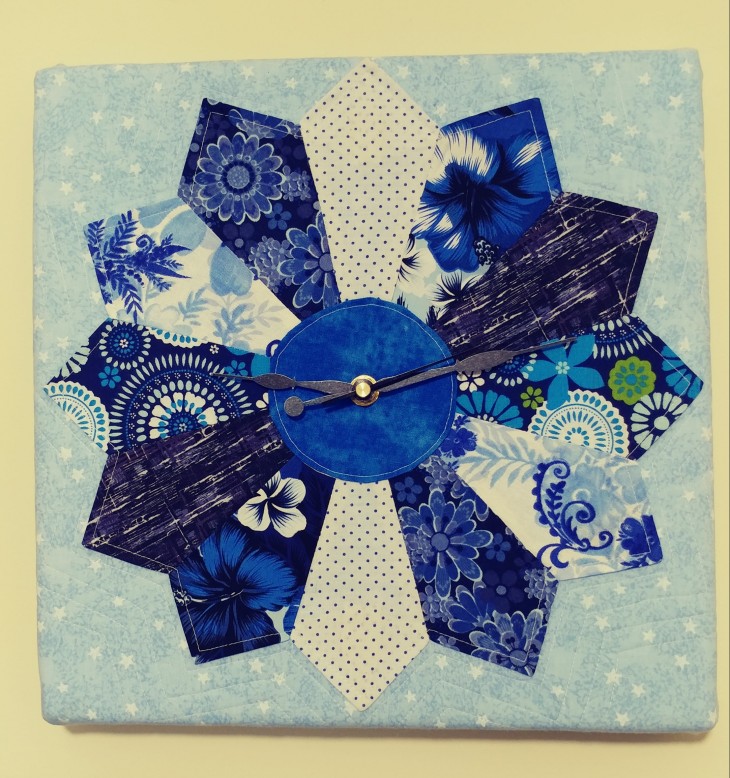

Traditional Dresden Plates have 16 petals, but my first Dresden Plate blades were made using a template I accidentally found online at The Crafty Quilter that yielded 12 blades per Dresden, perfect for clock making. I chose a 12″ x 12″ x 1″ square artist’s canvas to mount my clock to, and found that a 5″ tall blade created a Dresden with a final diameter of 11-1/2″ including the center circle.
Here’s what you need to make your own:
- A 12-blade Dresden Plate — quilted to a piece of coordinating fabric at least 14″ x 14″ or bigger so it wraps around the canvas frame to be secured in place on the back.
- Batting — I used white fleece on this, since the fabric content really didn’t matter. The fleece was almost too bulky on the corners of the frame.
- 12″ x 12″ artist’s stretched canvas — available in the crafts section at Walmart, or any crafting store like Michael’s or Jo-Ann’s, as well as Amazon
- Clock works kit — the kit you choose is partially determined by the depth of your stretched canvas frame. I bought the 3/4″ kit for the 1″ deep canvas. Available at Michael’s or Amazon.
- Staple gun
- A tube of E6000 glue or a hot glue gun
- One piece of shim or other long flat wood, at least 12″ long
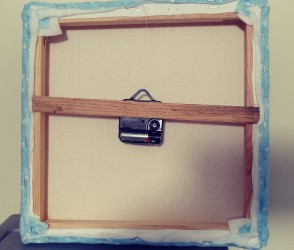
After sewing the Dresden, I applied it to the background fabric with a running top stitch, and quilted the background fabric with a simple echo outline of the petals. You can get as creative or simple as you want. I centered and stretched the finished block on the canvas, and secured it using an electric staple gun, stapling it to the back of the canvas’s frame, much like you’d reupholster a chair. Find the center of the Dresden Plate by putting a straight pin through it from the front, and mark that location on the back of the canvas. Clip a small hole where you marked the pin, put the stem through the fabric from the back and on the front, assemble the hands on the front as directed in the clock works instructions. Finish by hot gluing the back of the clock works to the shim so it is straight and won’t move, and secure the shim to the frame of the canvas with hot glue. Be sure you don’t cover up the dial adjustment or battery case on the back with the shim. My mounting was disappointingly askew on my first clock, but it will be better next time. Trim any excess fabric on the back, hang and enjoy!