Music to my ears, the purr of my old sewing machine. My old White/Universal metal baby was purring no more though. Locked up solid, she has been living in my closet for the last year.
 Made of all metal shafts and gears, I had bought my old Model 4400 in 1984. It was my first machine, and over the years it had made pillows, curtains, purses, pouches, costumes, aprons, even clothing back when I wasn’t so “curvy”. Computerized machines with a zillion fancy stitches are nice and all, but I never use much more than straight and zigzag stitches anyway, and the computerized models just won’t do just plain old straight sewing well, through any kind of thickness, and the stuff I make tends to have thickness or heavy seams. Beep, beep, beep. Fist pounding. Curse.
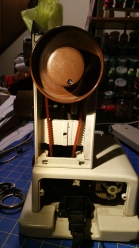 If you have an old machine sitting around, they aren’t that hard to figure out. Metal parts need lubrication, and eventually parts can just freeze in place. I’m not the most mechanical person, but I had hoped if I could find the spot that was locked up, I could point someone who is mechanical in that direction to fix it. And besides, it was not working anyway, it’s not like I was going to hurt it. So I took off the top and side covers of the machine, removed the hand wheel and just watched what happened when I pressed the foot pedal. Nothing happened. The motor whirred, but nothing moved — at all.
 So I started with the belts and flywheels near the motors — or are they pulleys? I don’t know, they’re round and weren’t spinning. Thingamabobbers. Whosie whatsits. I tried to turn each of the two flywheels by hand, and found the culprit. The bigger of the two wheels, the one on the left, wouldn’t budge. I braved a pair of pliers, grabbed the wheel and gently twisted. It broke free pretty easily. Once free, and after a good oiling, it was spinning like a top. I oiled the rest of the drive shaft and gears because everything had gotten pretty tight, even with standard oiling over the years. My biggest snaffu was the research required on how to put the hand wheel back on properly. I finally figured out there was a washer that I didn’t notice had fallen off the hand wheel cap, which as it turns out is a really integral part of the whole thing. Not only is it integral, it has a top and a bottom and has to be installed correctly oriented.
My old machine has a new life, and has started to purr again.
There wasn’t a lot of instructional videos on YouTube that talk about these 1970s/1980s metal machines. Either you were repairing the antique Singer machines, or you were troubleshooting a new, computerized machine. I highly recommend the New Mexico State University College of Agricultural, Consumer and Environmental Sciences Sewing Machine Maintenance Guide, for some basic info on how these simple 1970s style machines work — and to point out there’s a washer laying around somewhere you just might need, and that little mark on the washer means “top”.
Now to figure out tensioning. And to get my nails re-done. Turns out sewing machine oil dissolves gel polish.


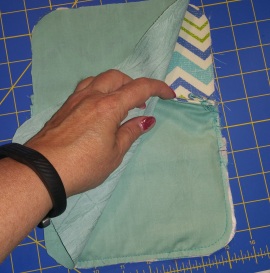
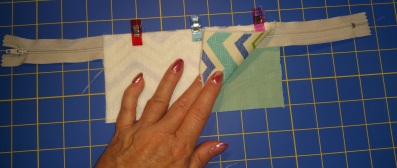 a. Fold back the outer and lining fabrics so they are both right side out, and press, exposing the unsewn edge of the zipper.


