My newest obsession, the quilted patchwork tote.
My first charm pack tote was kind of a fluke. I like to buy decent-sized fabric remnants at thrift stores, and I found one particularly generous pack of several remnants that when I got it home and unfolded, discovered was actually one large remnant with a stack of pink and purple poorly cut squares. Someone was going to make a little girl’s quilt and stopped after rough-cutting charms. New challenge — make something out of these otherwise useless squares.
My first project was based on a YouTube video tutorial from Missouri Star Quilt Company. The tote is lined and I added a CamSnap at the center top after these pics were taken.
My second tote was based on Charm Pack Tote Bag Tutorial-Sewn Up from Sewn Up. This bag was not quilted, but is traditionally lined, so I went ahead and quilted the front, back and bottom panels separately and then sewed them together as I added the inset ruffle. This one was my new favorite.
While I was creating the mauve tote, I knew I wanted to make a denim patchwork tote. This bag is based on Sewn Up’s Charm Pack Tote Bag with Pocket (I didn’t add the pocket), and I used the Classic Bow Tutorial from Better Homes and Gardens to make the perfect decorative bow. Again, I quilted my bag, but because the accent ribbon and bow are sewn on after the bag is assembled, I was able to quilt the bag in one large piece.
I’ll definitely be making more of these totes, experimenting with sizes and shapes of the charms.
Update: Gorgeous greens with diamond quilting.
Update: Thanks Teresa Mairal, TeresaDownUnder, at Sewn Up Patterns for the nice note back!
Update 8/13: Here’s a project that was meant to be something else, but I completely screwed it up, so it became this instead.


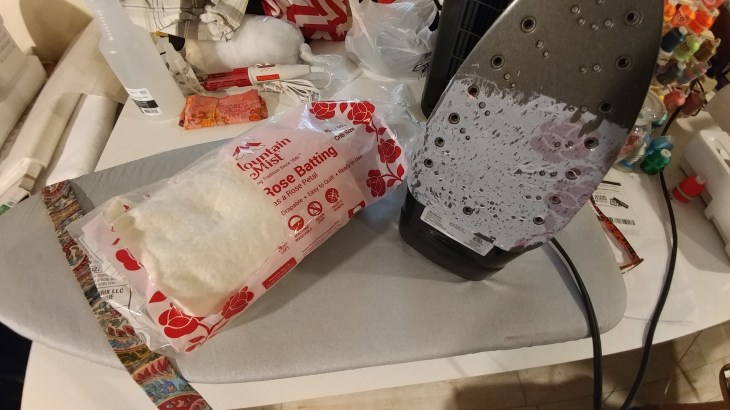 Seems like an obvious statement, I know. “Don’t iron stuff that will melt.”
